Desktop Guide
Clip Editor
Review AI suggestions, adjust clips, preview output, add captions/assets/audio, complete rights checks, and export.
What This Feature Does
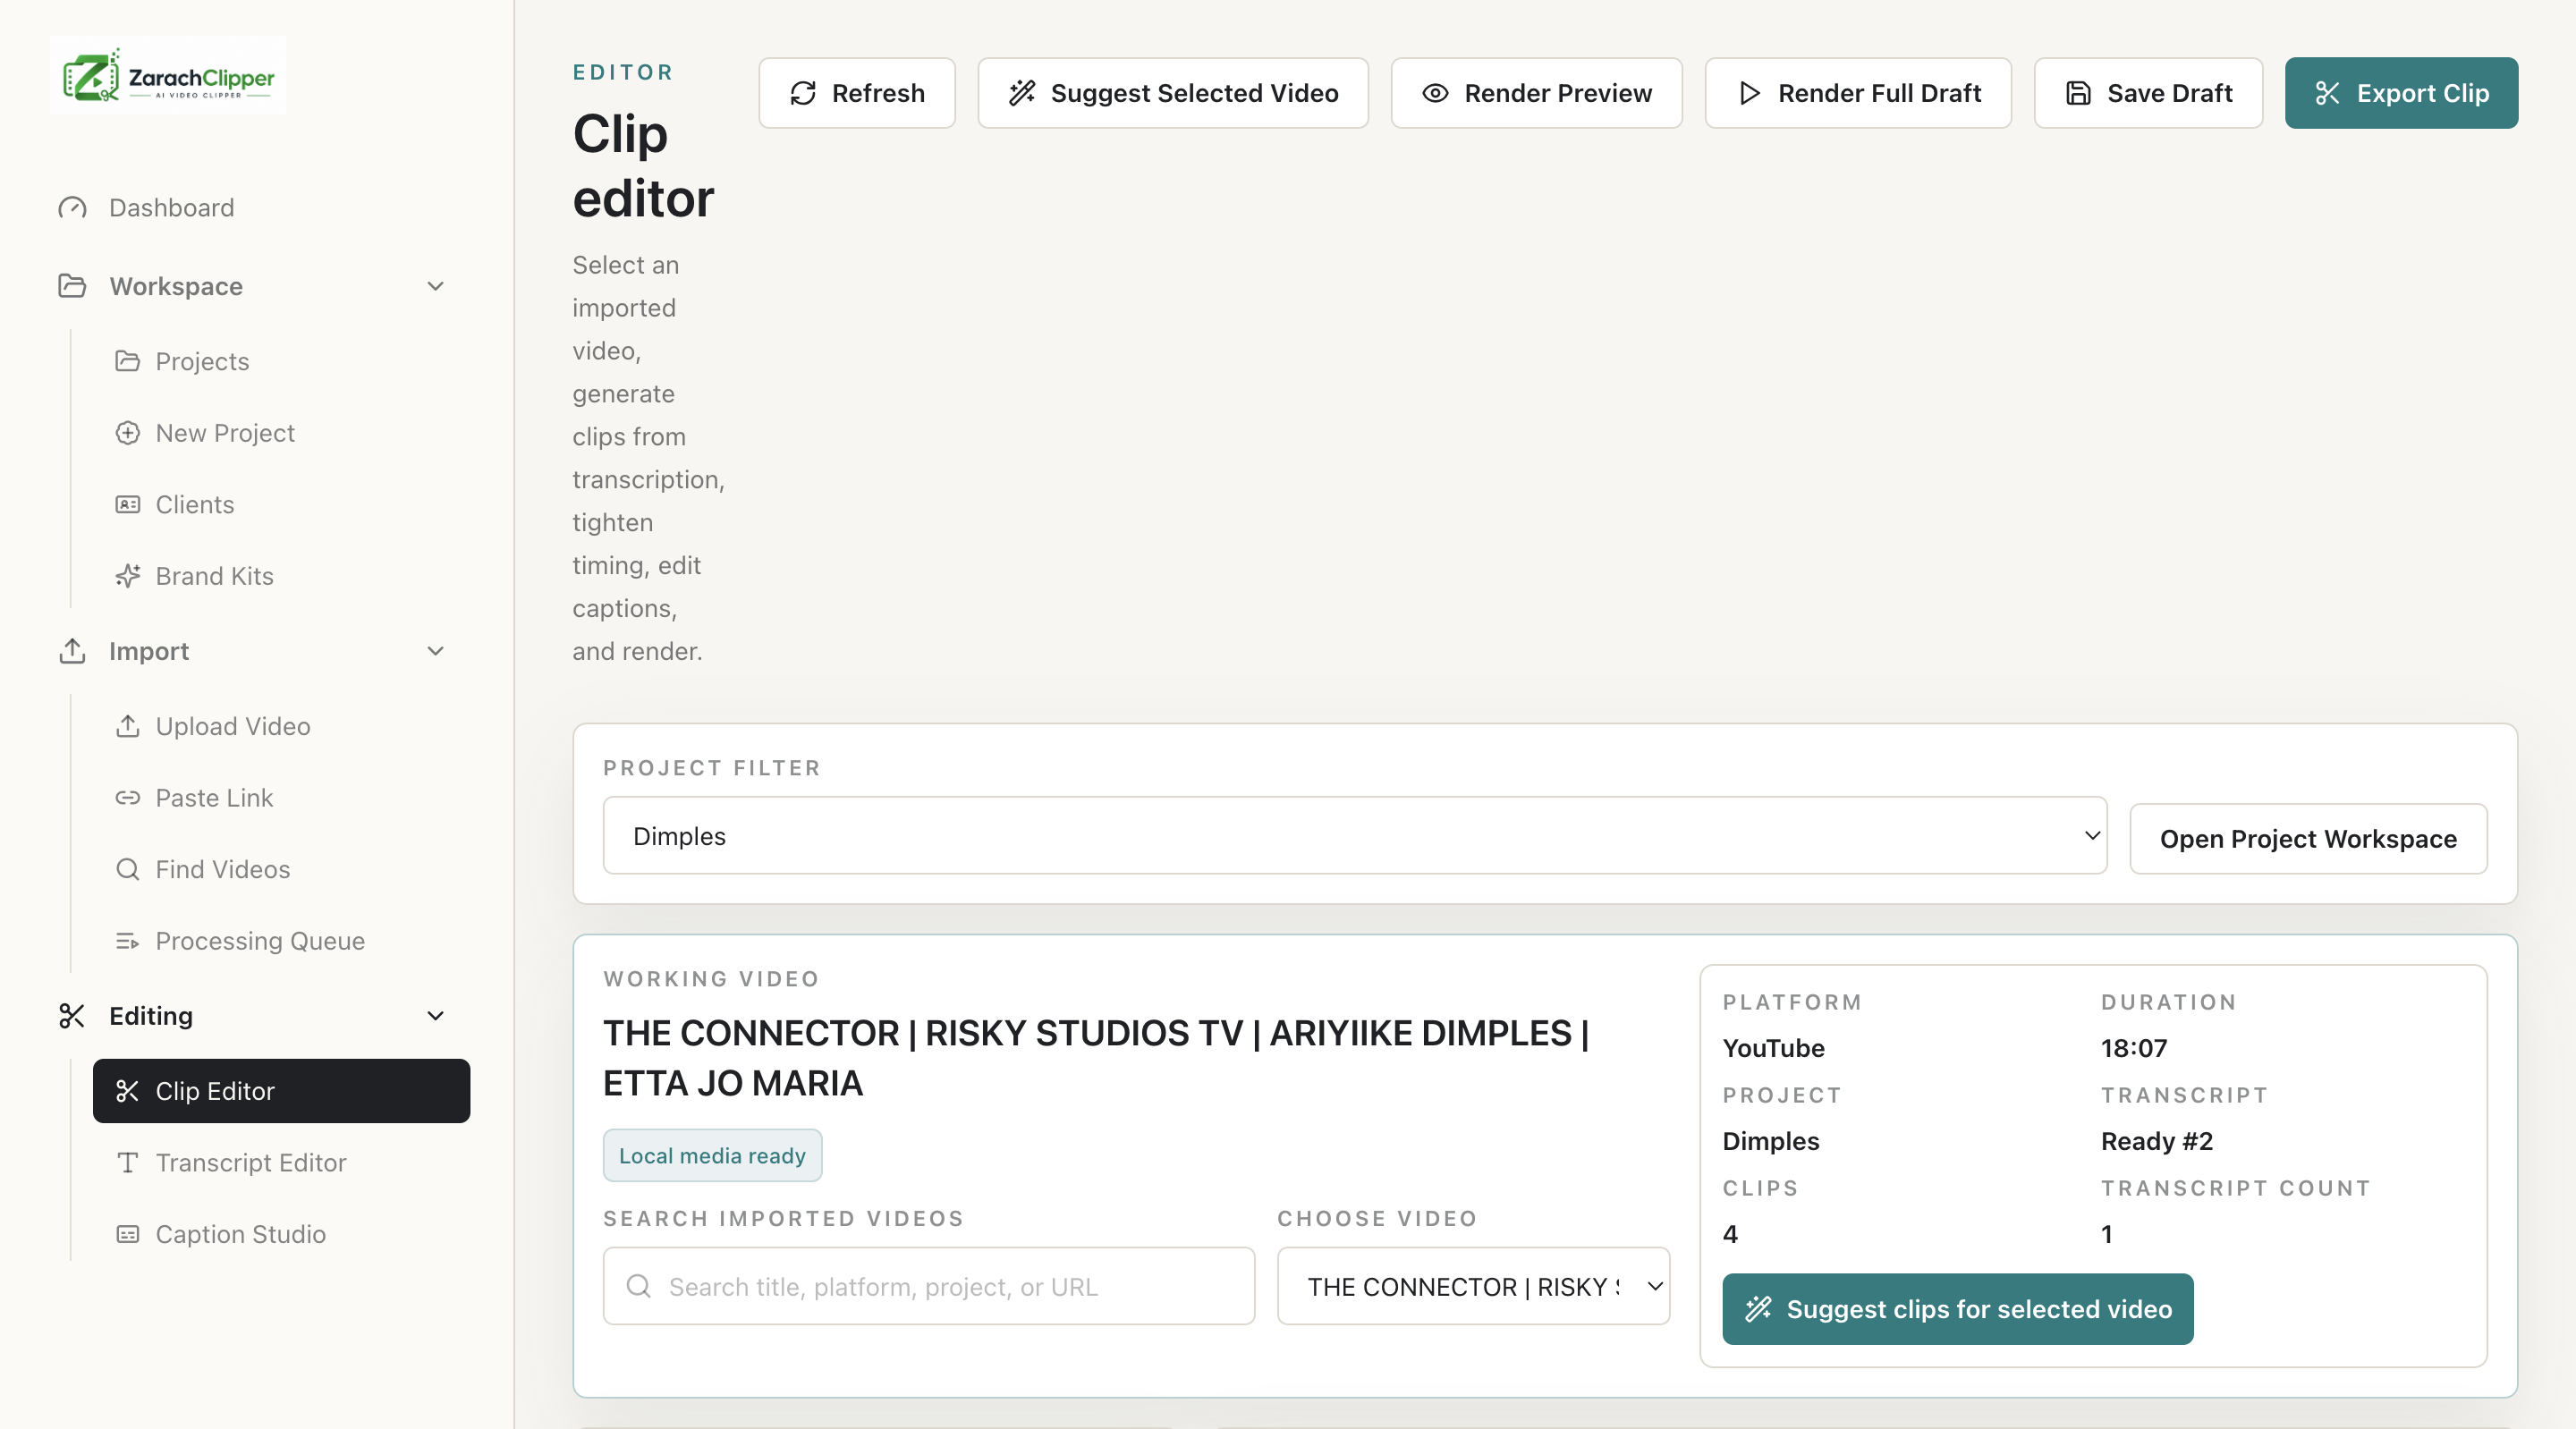
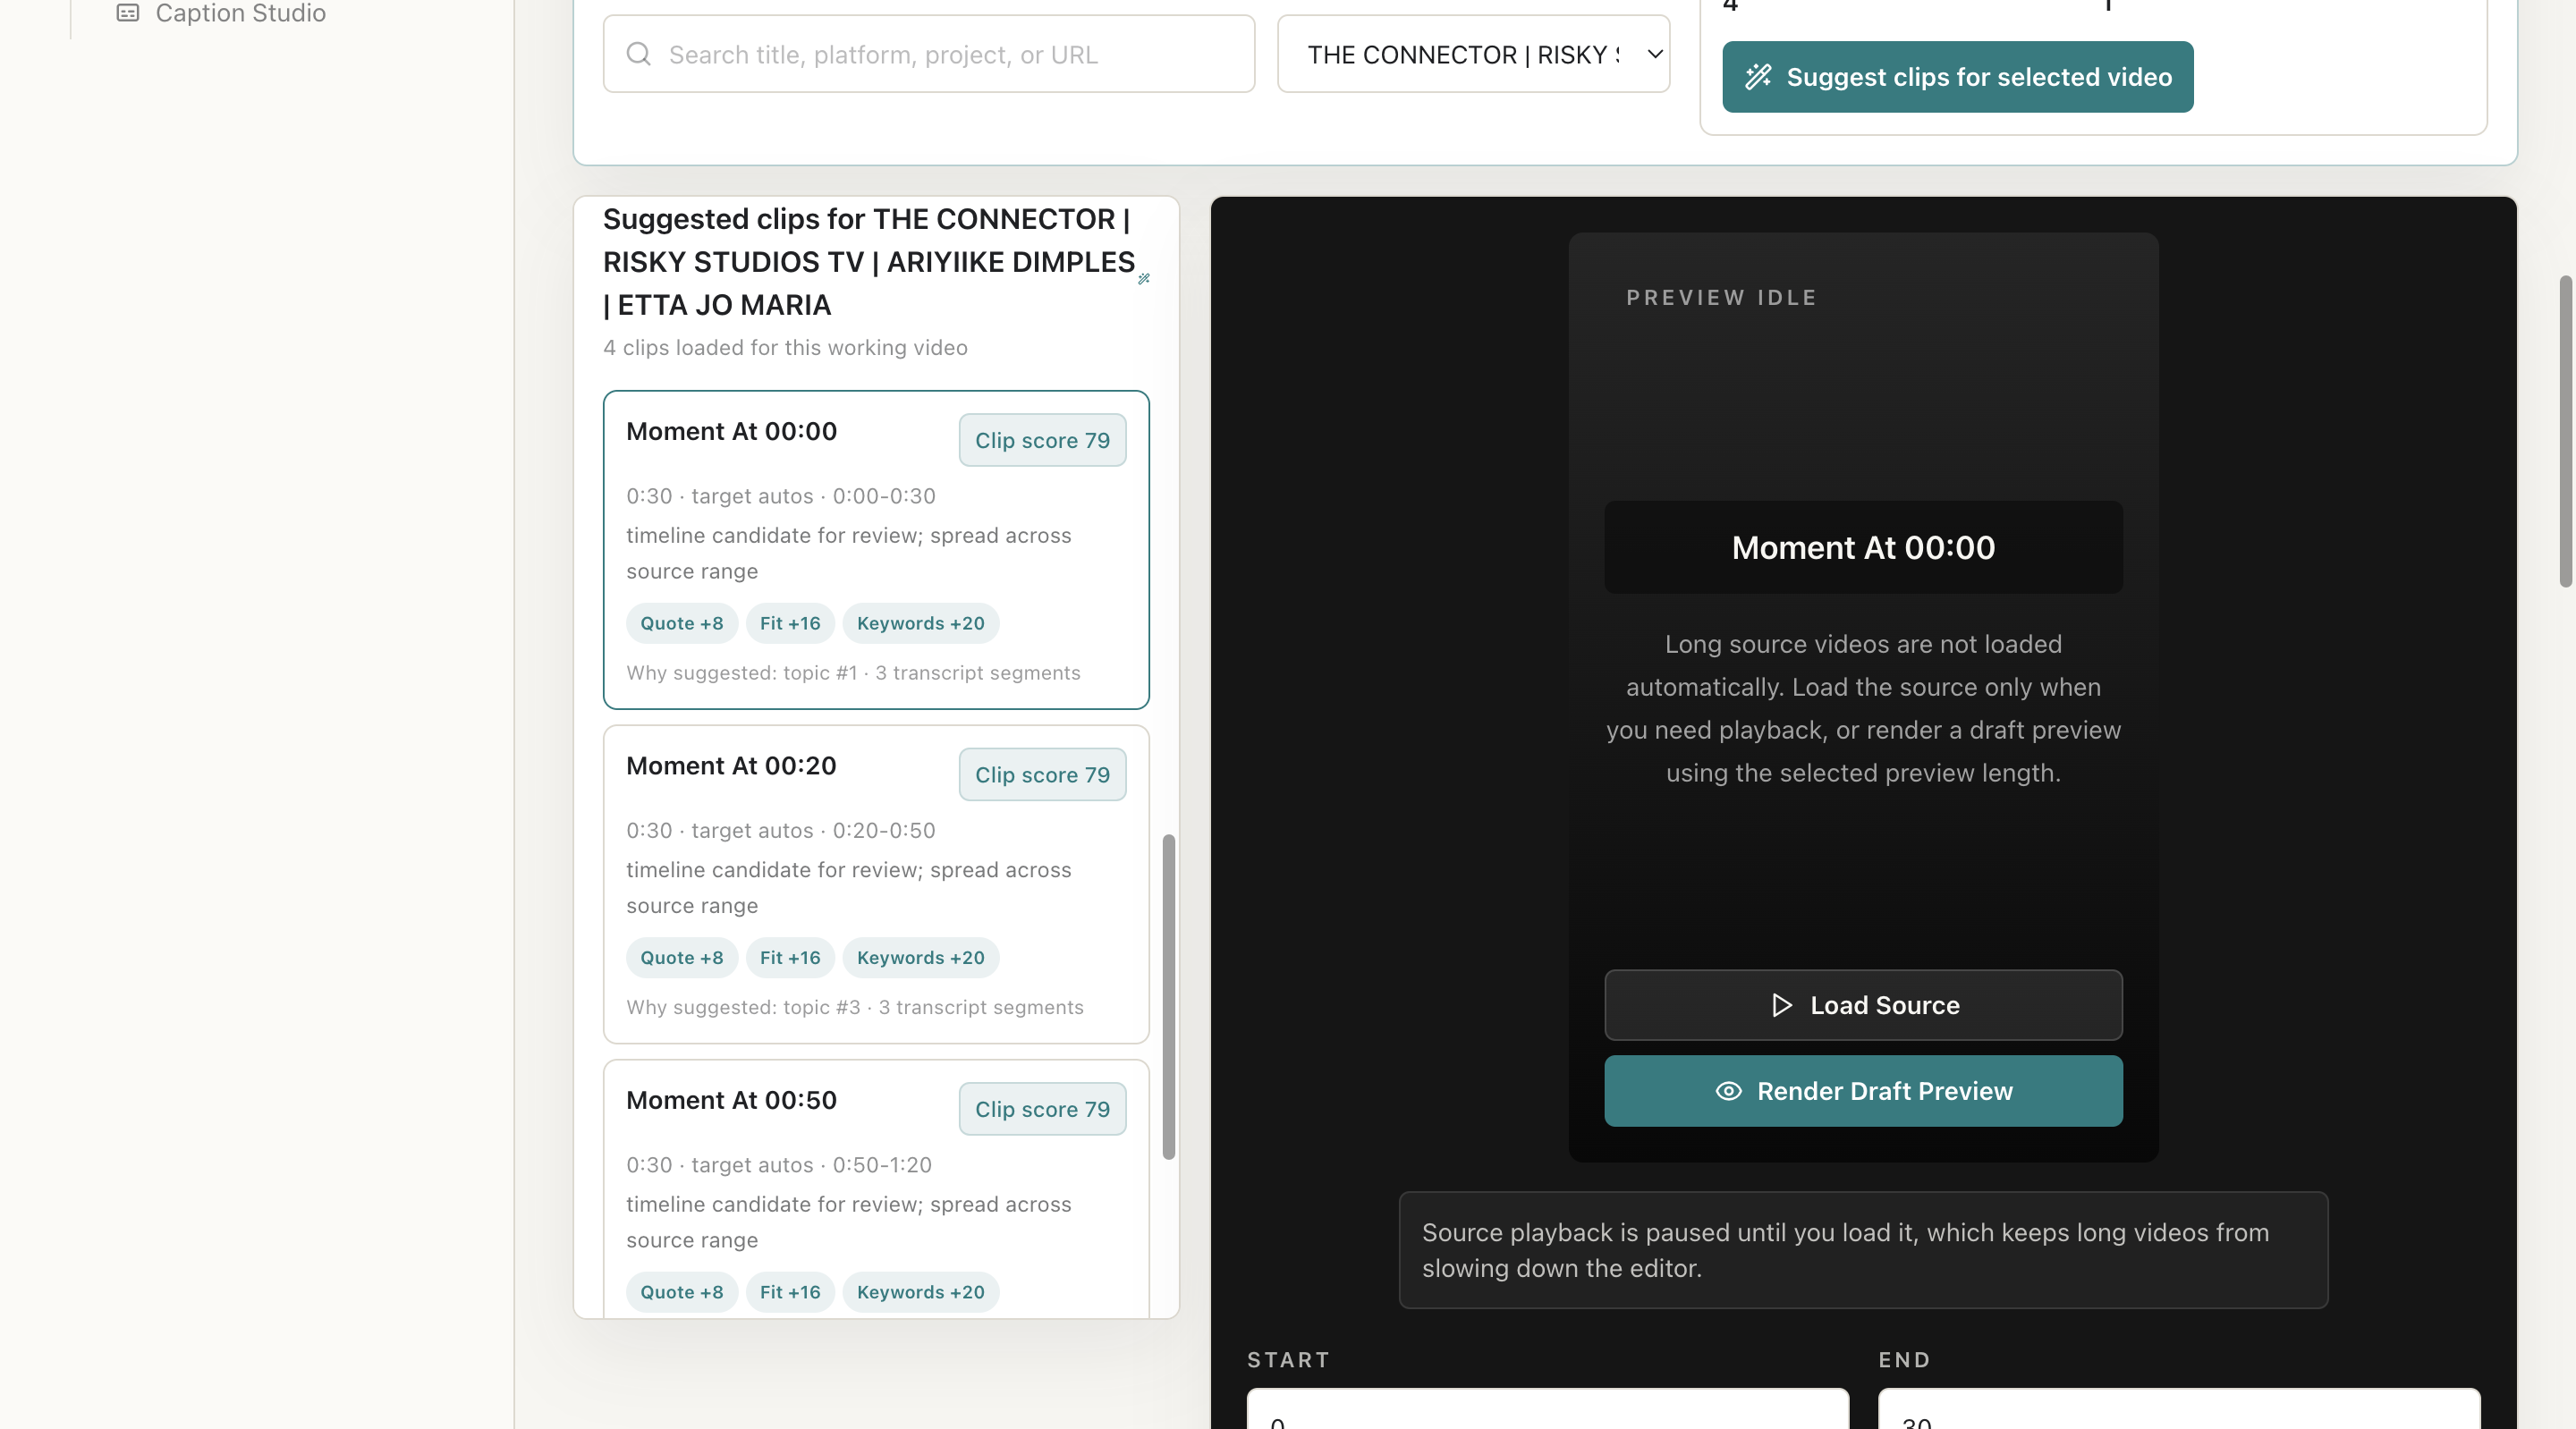
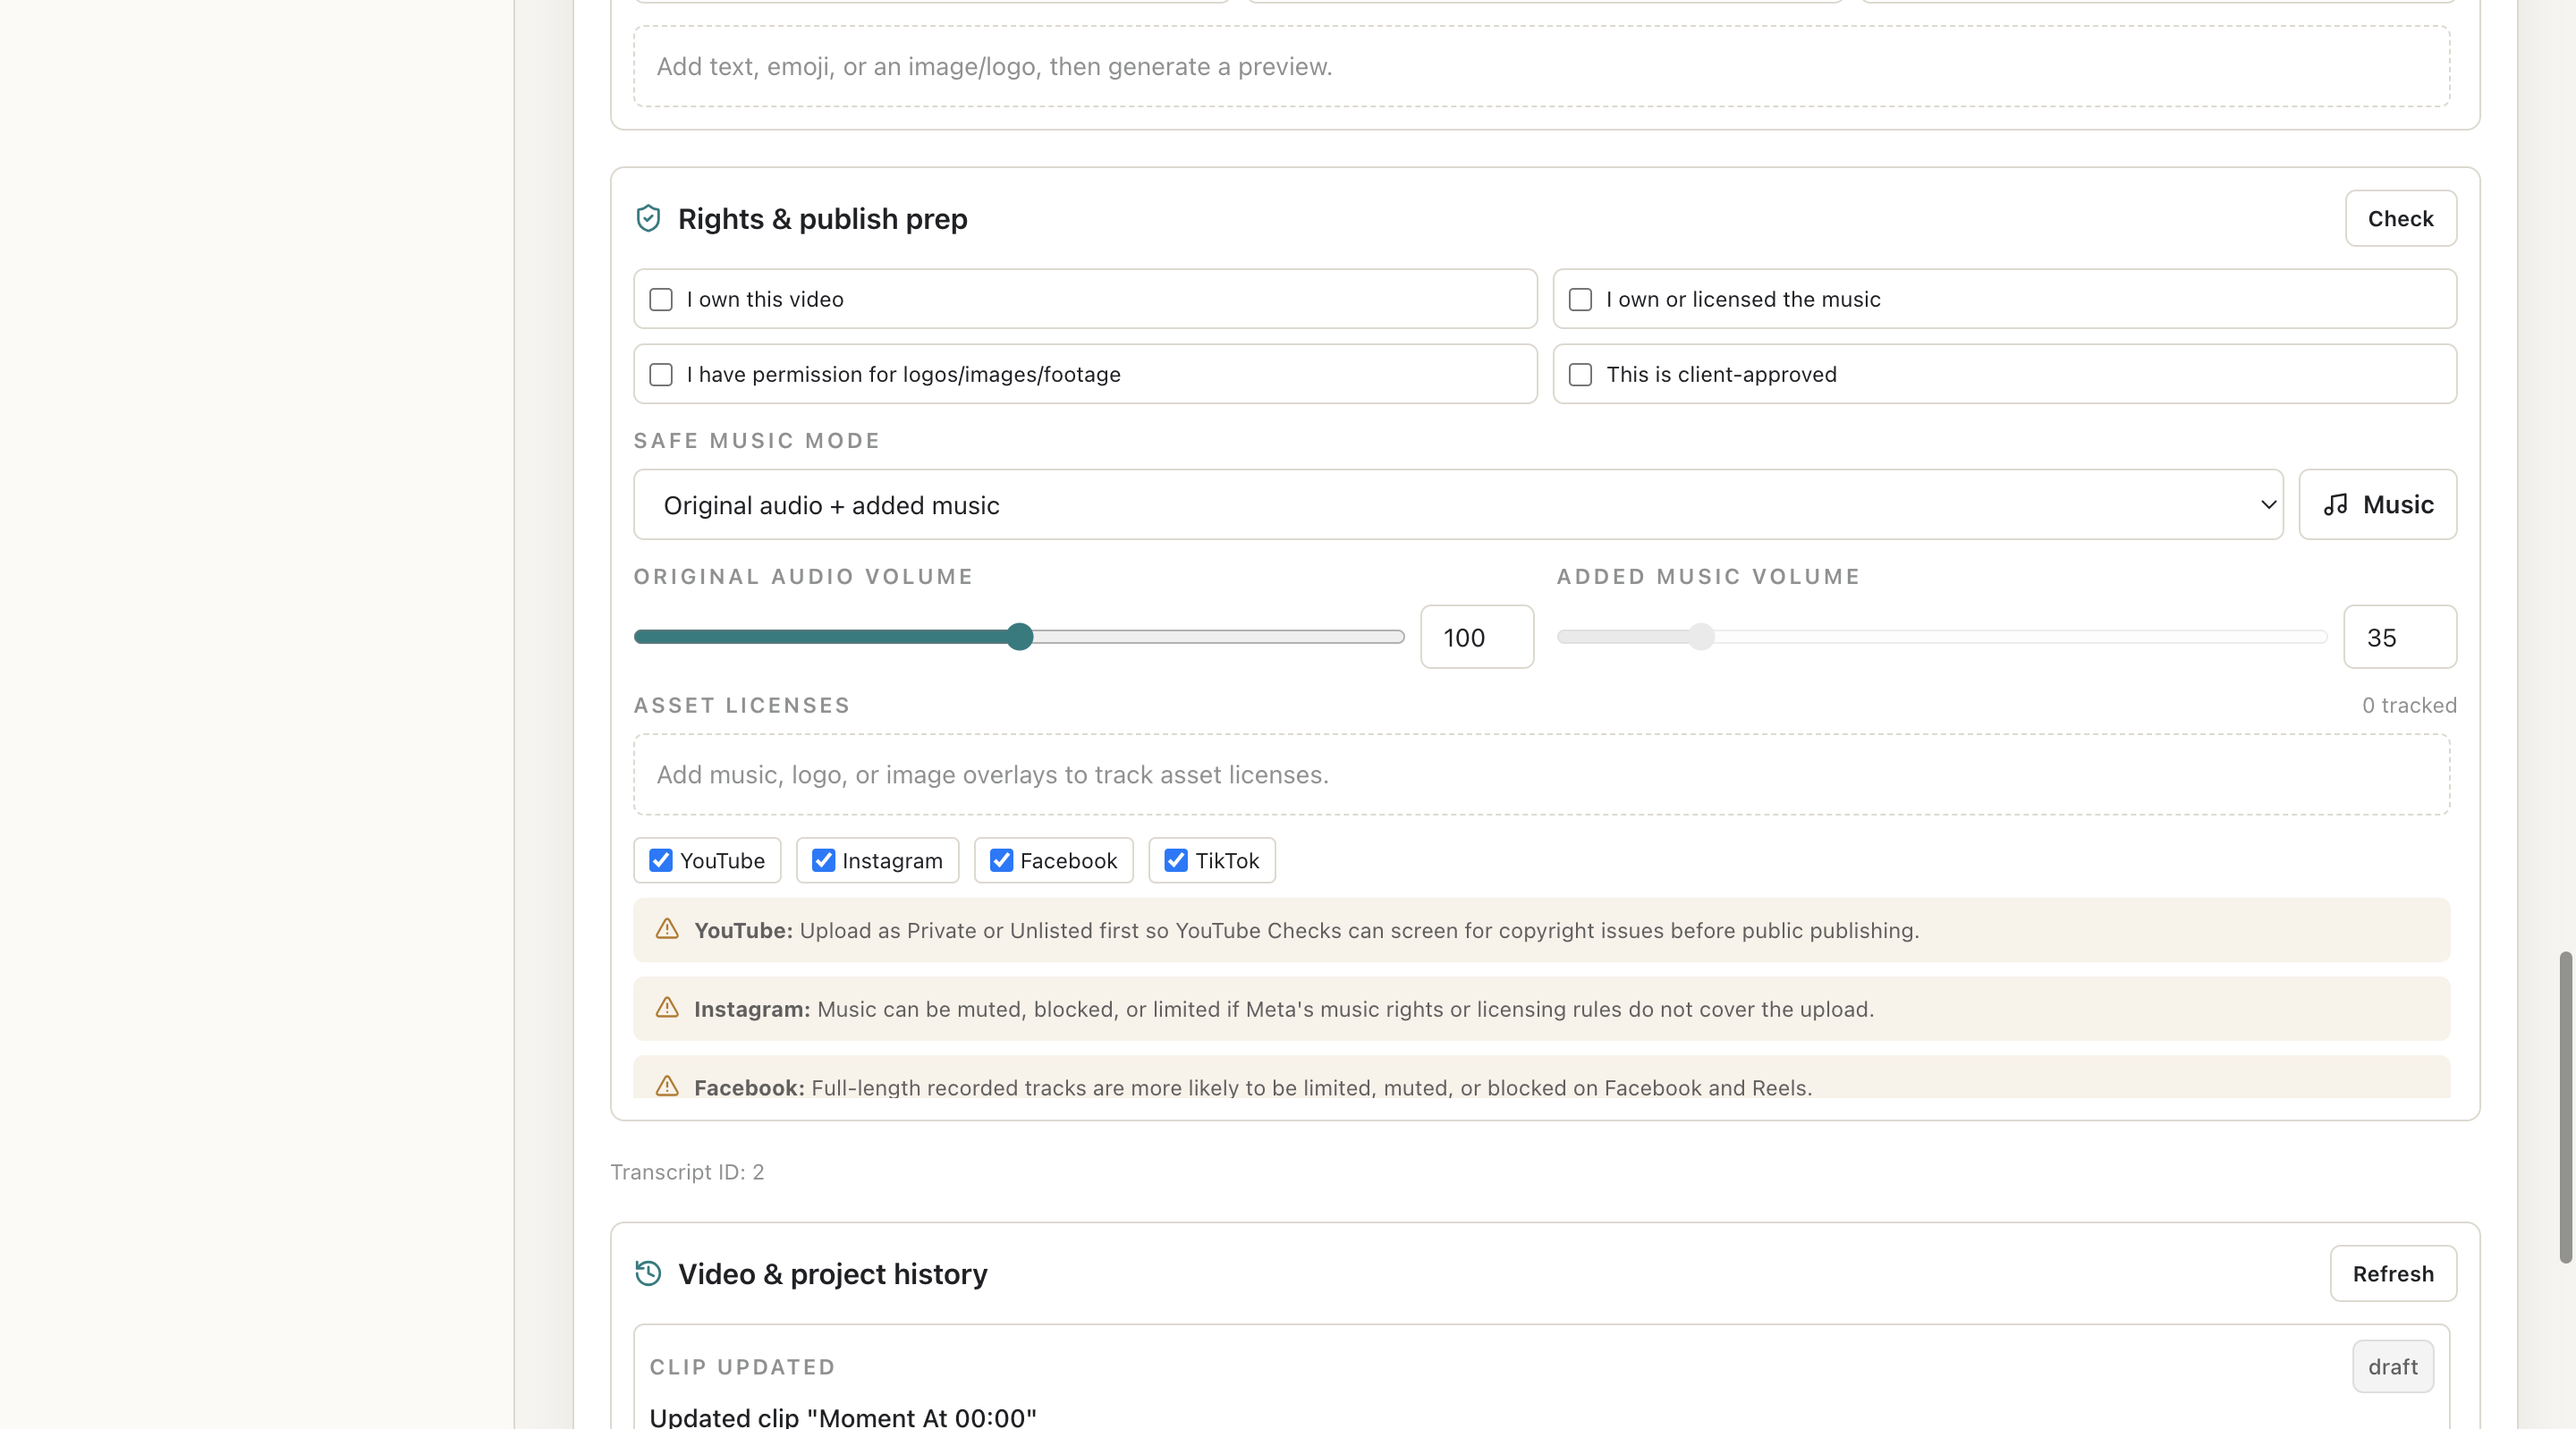
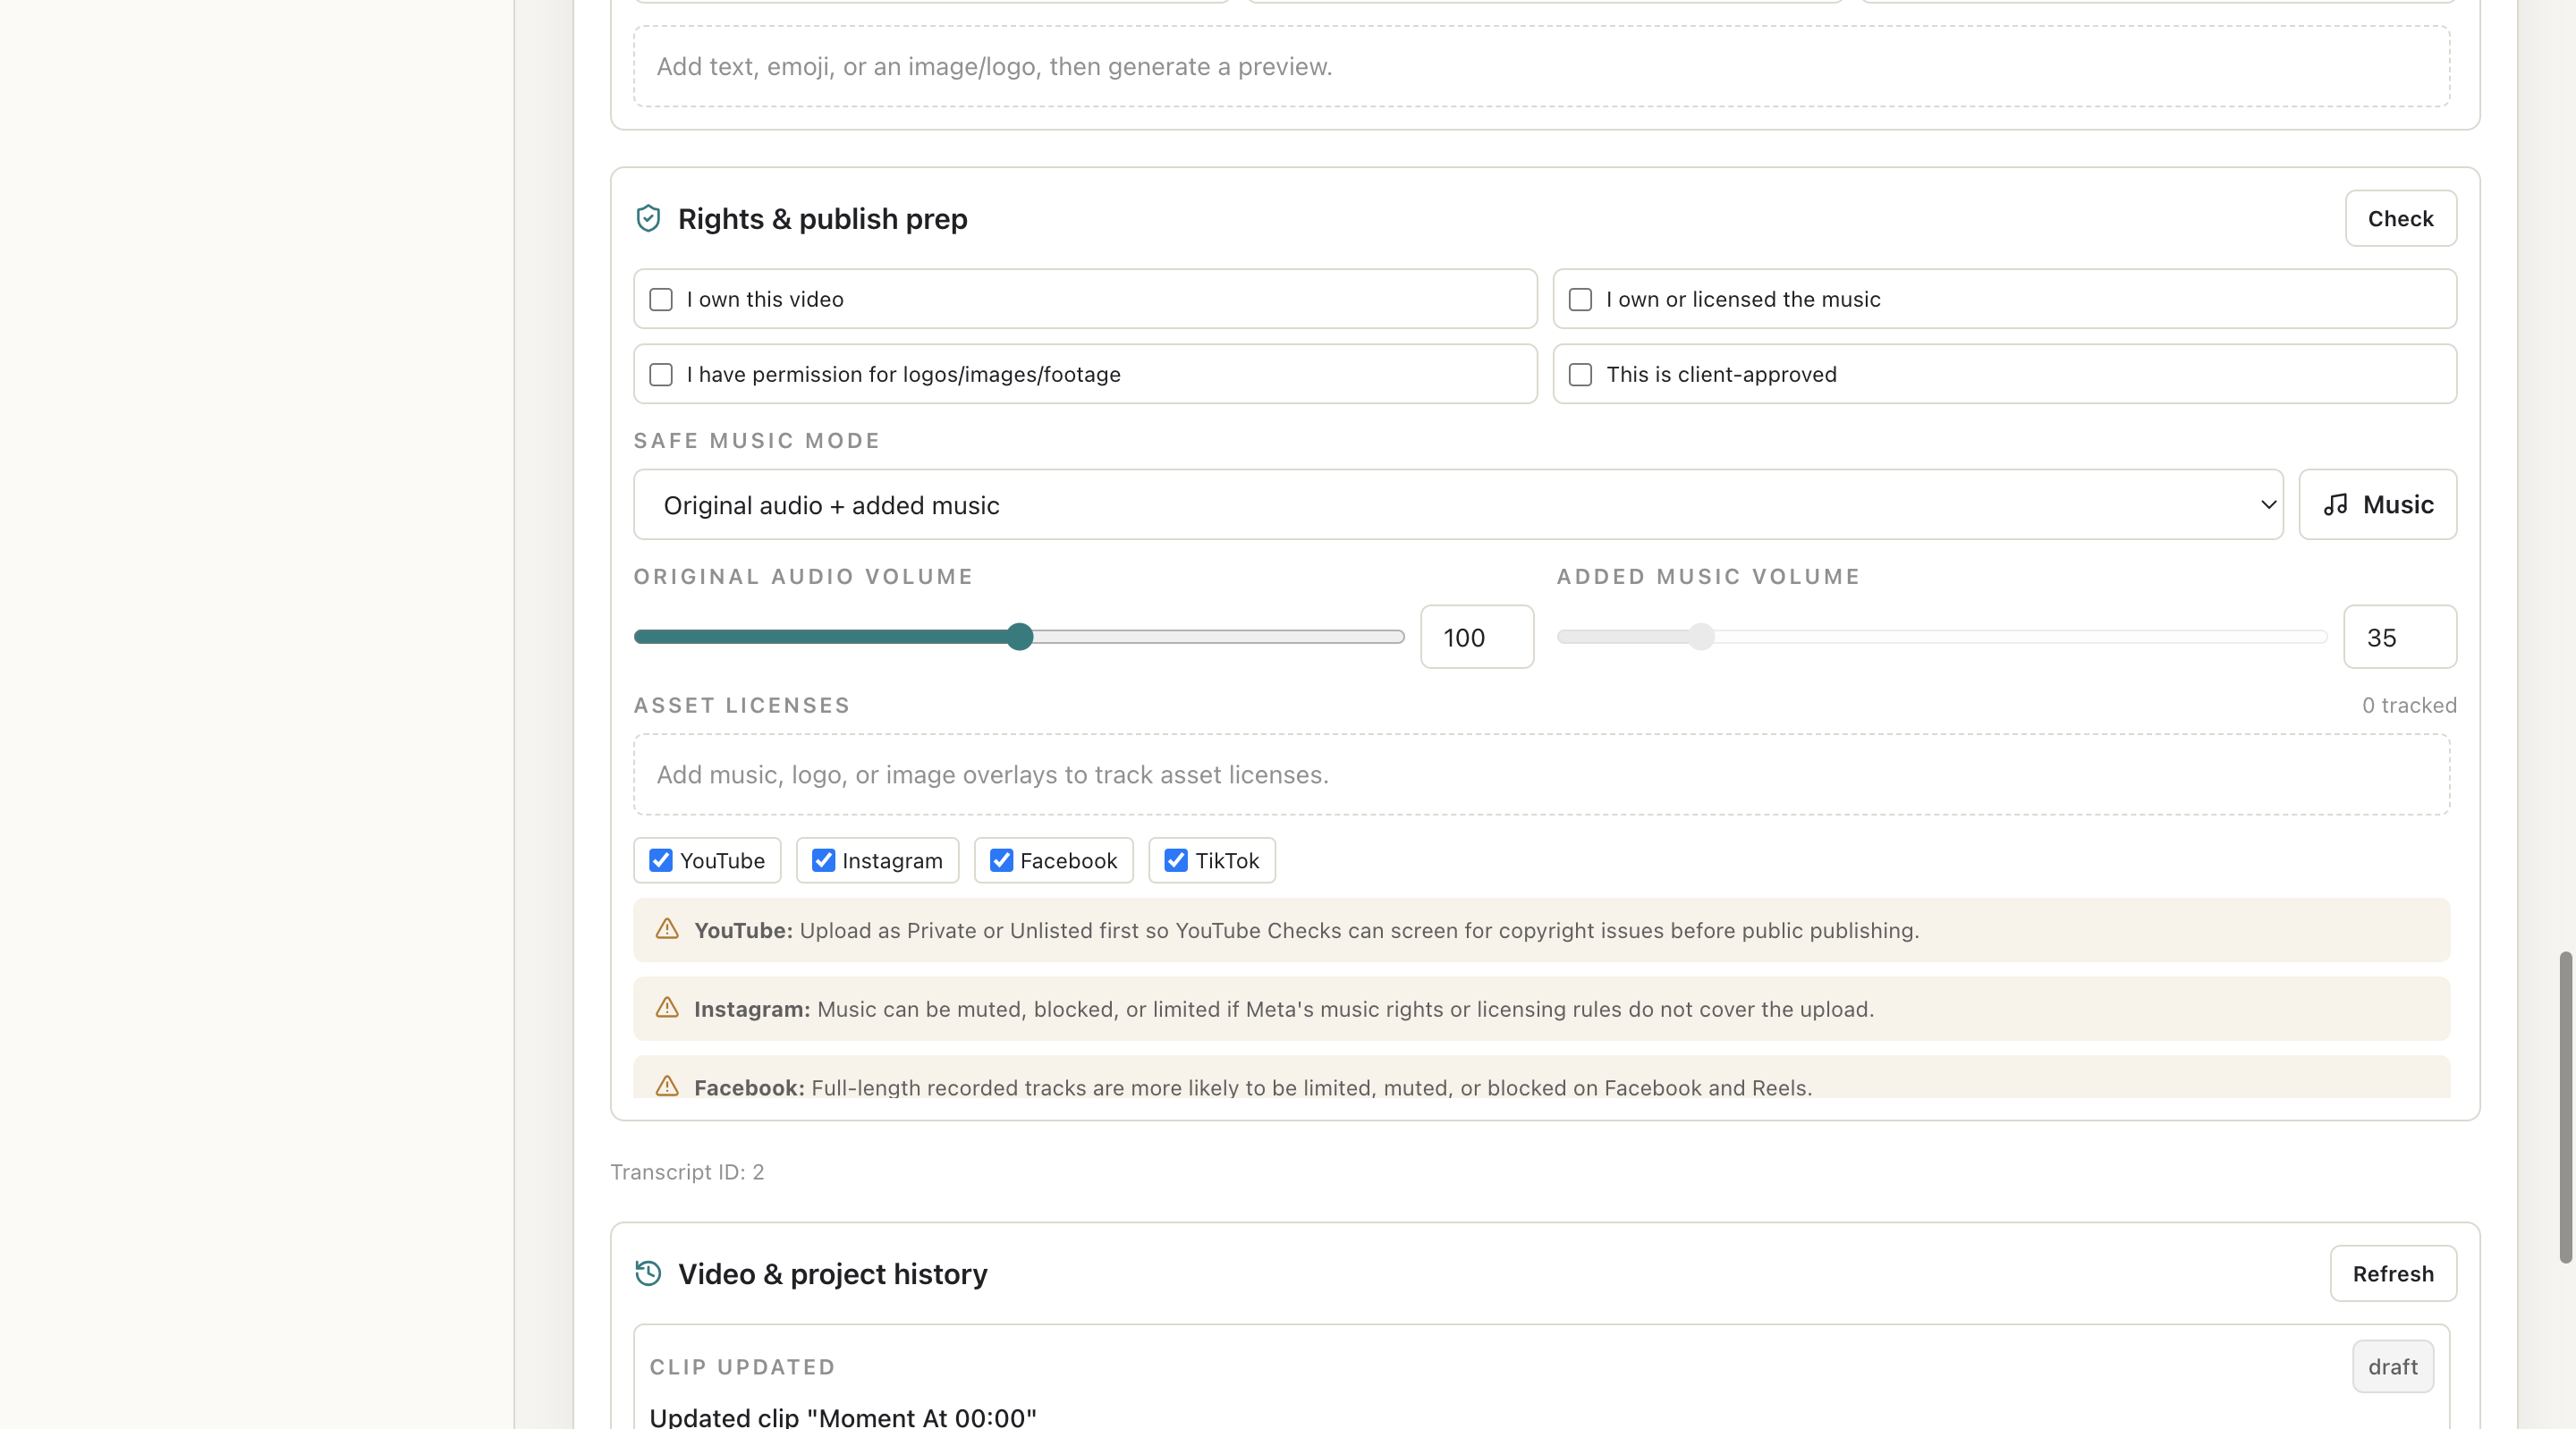
Clip Editor is the main workspace after import. Users select a project and working video, suggest clips, review score metadata, adjust start/end timing, select captions/templates/brand kits, add overlays or music, render preview, complete rights checklist, and export final video.
Why Users Need It
It is where a source video becomes a finished short-form clip.
Where To Find It
Editing -> Clip Editor.
Before You Start
- Project exists
- Imported video has local media
- Transcript exists or can be created
Step-by-Step Guide
- Select project.
- Select imported Working Video.
- Click Suggest Clips.
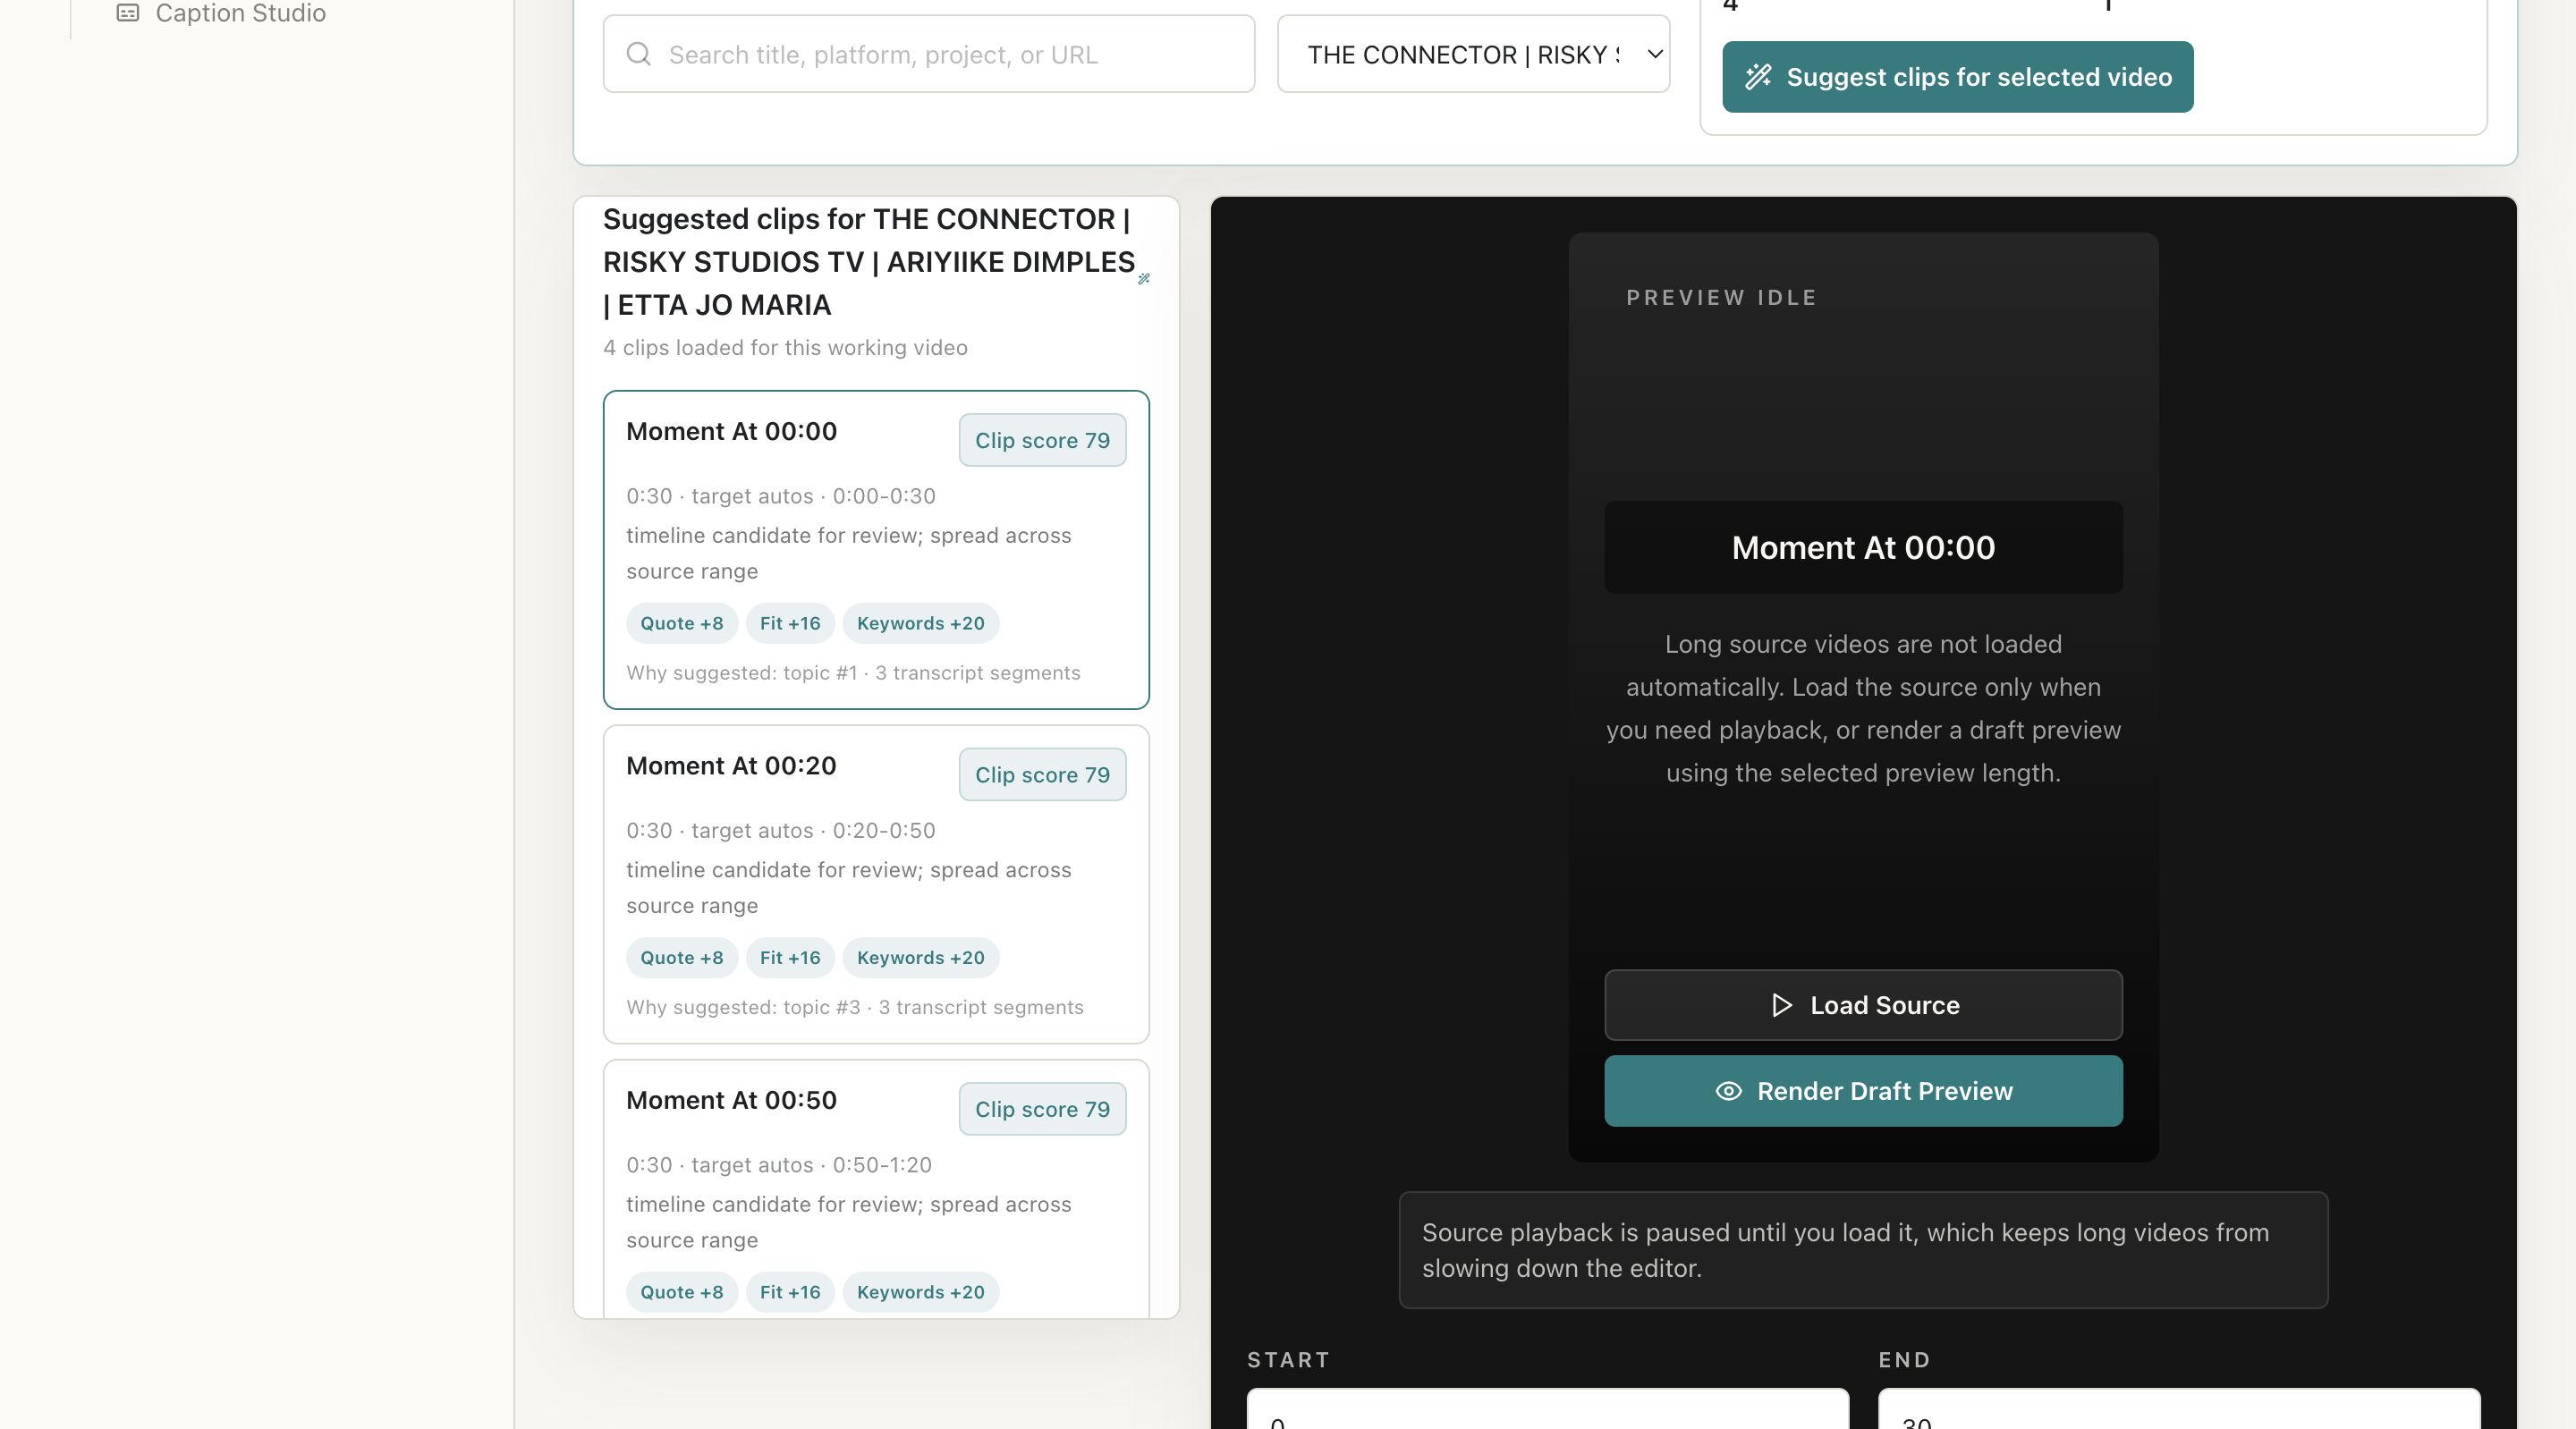
- Review AI suggestions and score reasons.
- Select a clip.
- Adjust start/end time.
- Apply caption preset, brand kit, aspect ratio, quality, watermark, overlays, and background music.
- Render preview.
- Complete rights checklist.
- Export final clip.
Screenshot Section
What To Check On The Screen
- Correct Working Video is selected
- Suggestions belong to that video
- Preview is current before export
- Rights checklist is complete
Expected Result
The user has an edited, previewed, export-ready clip.
Common Mistakes
- Using wrong video in multi-video projects
- Treating AI suggestions as final
- Exporting before preview
Troubleshooting
If suggestions fail, check transcript/media status. If export fails, check queue and Error Logs.